The Ultimate Guide to Press On Nails
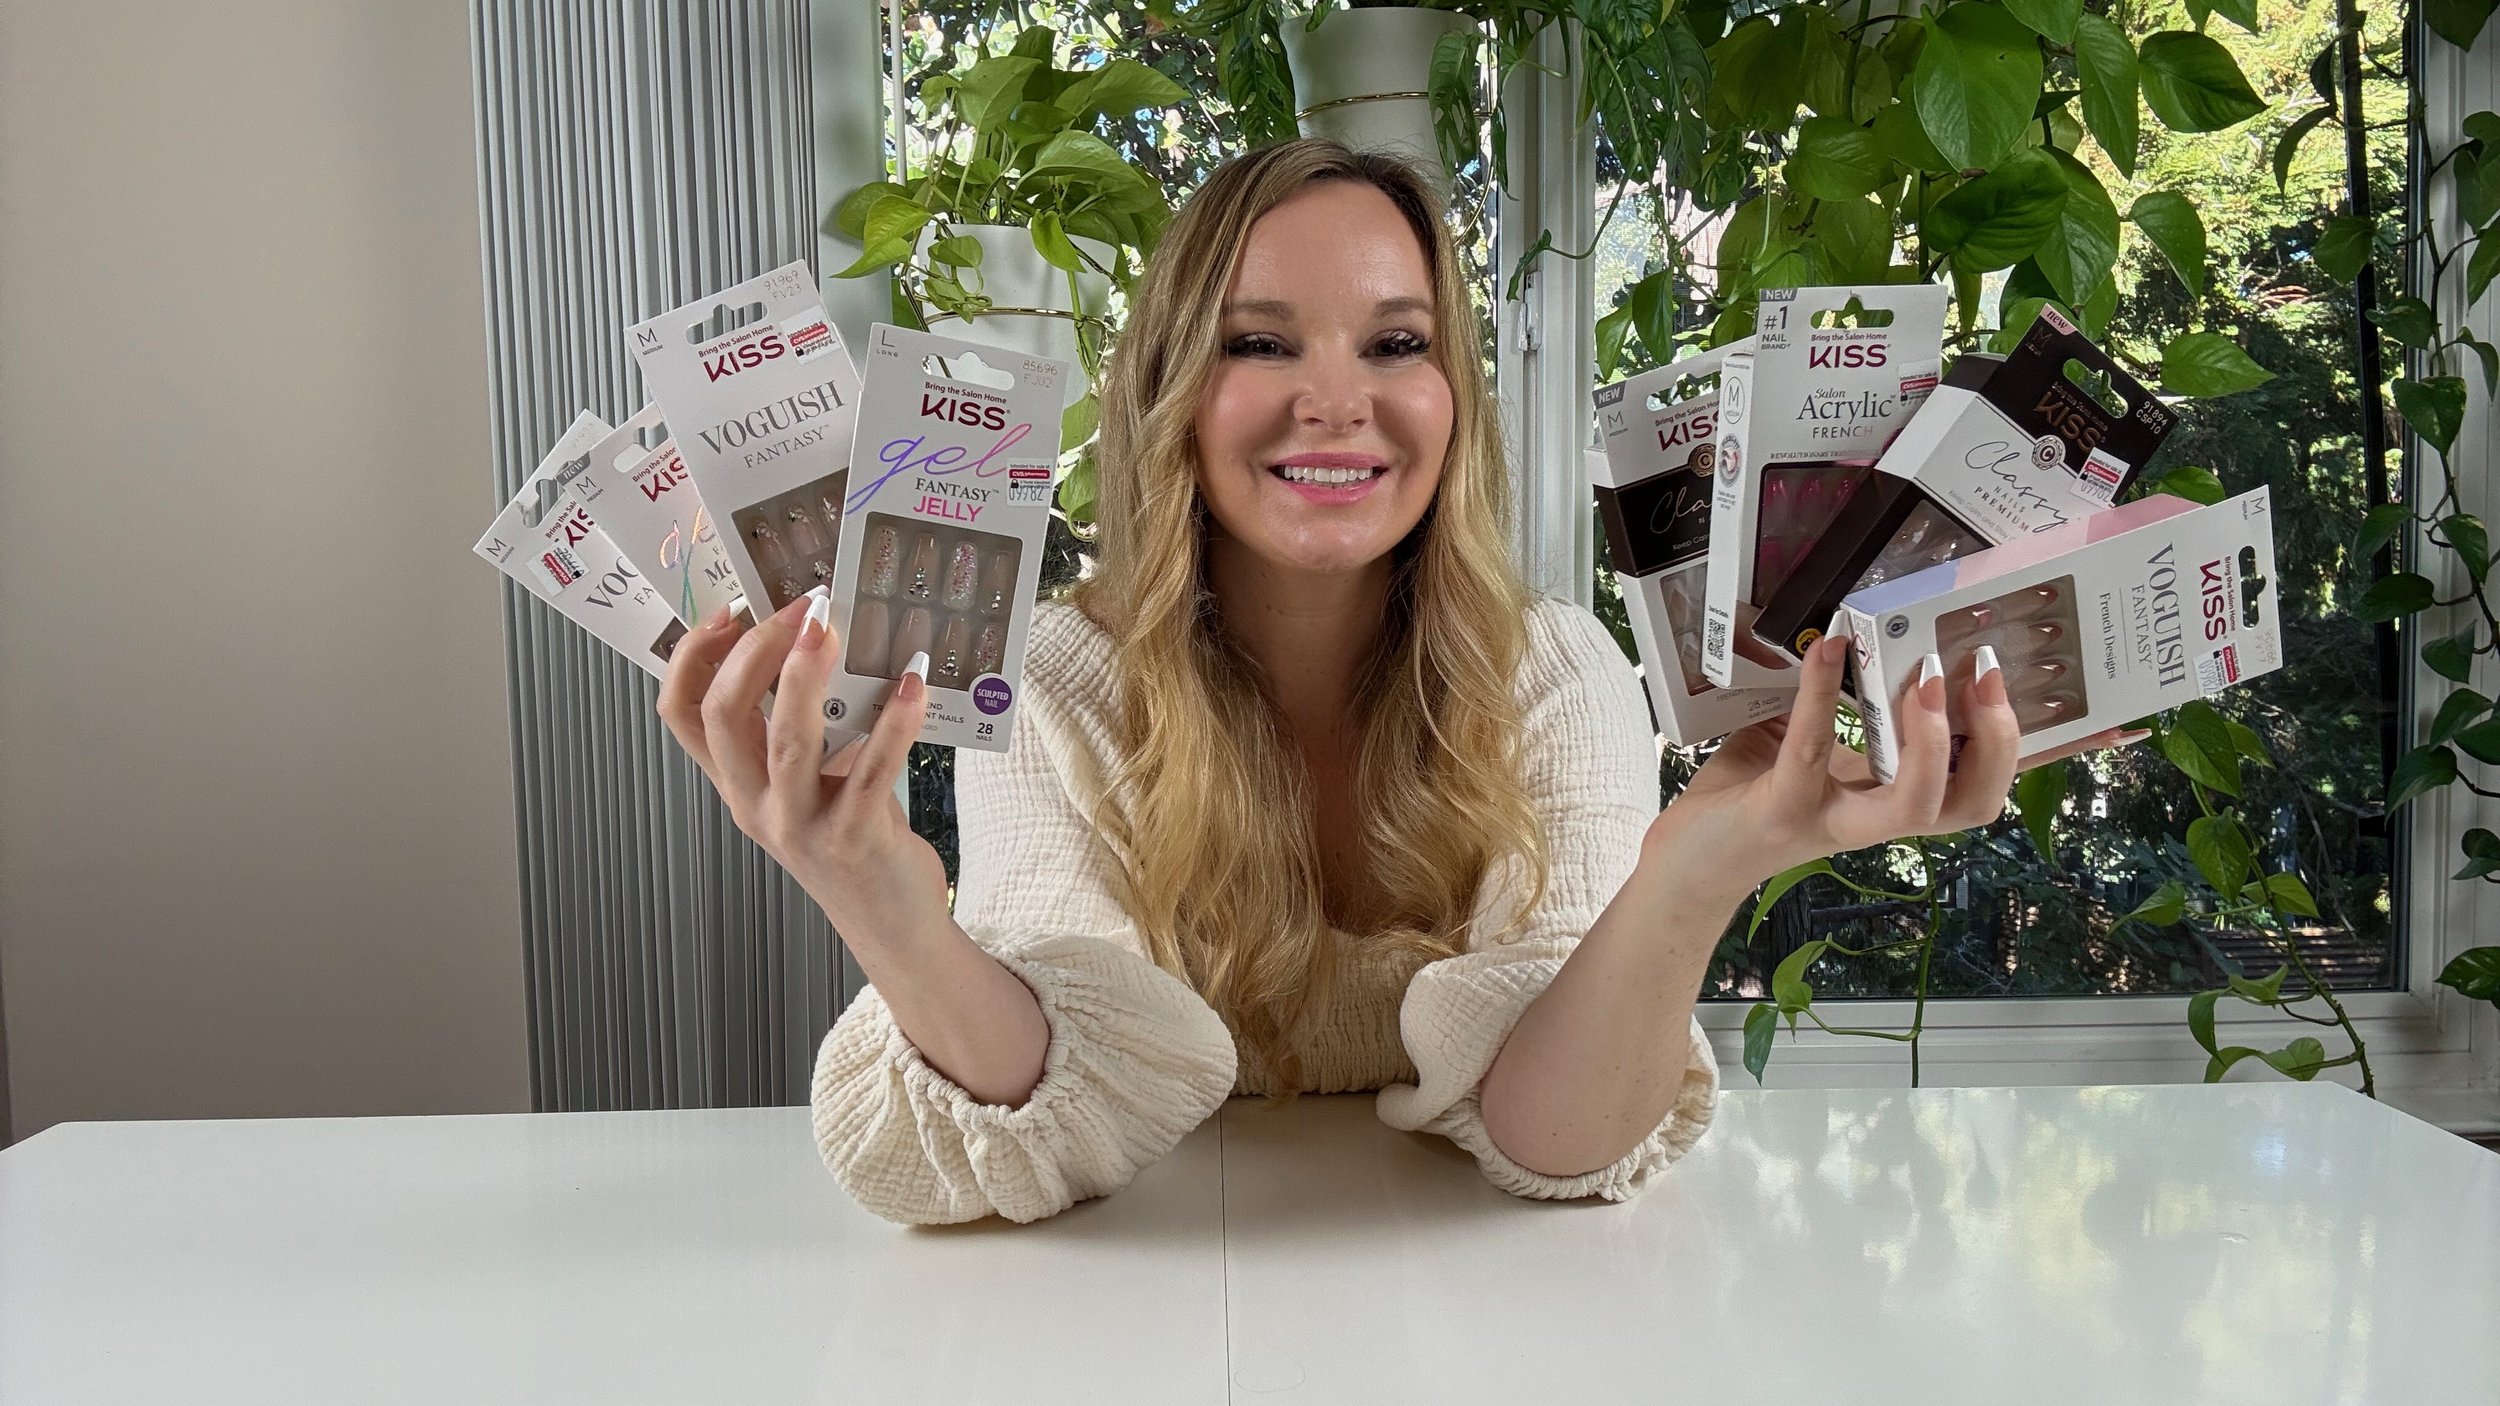
Why I Started Using Press-on Nails
I used to spend around $500 a month at the nail salon—crazy, right? Not only was it super expensive, but the time commitment was draining. Enter my niece, who introduced me to press on nails, and I’ve never looked back. They last about 14 days, are ridiculously easy to apply and remove, and I get so many compliments. Plus, I’ve cut my nail budget down to $20 a month! I’ve tried tons of brands and styles, so I’m excited to share my favorites and a step-by-step guide to help you get flawless nails at home.
Check out my Press-On Nail Edit On Amazon

How to Apply Press On Nails in 4 Steps
Here’s my foolproof method to get salon-quality nails at home:
1. Prep Your Natural Nails:
Trim and file your nails. Remove any old polish or glue to create a clean surface.
Avoid using lotion or cuticle oil before applying (or wipe it off with an alcohol wipe).
2. Pick the Right Sizes:
Lay out all 10 nails before you start. Opt for slightly smaller nails if you're between sizes—they’ll last longer!
Use a tray to organize your nails for easy access while applying. Discard nails that are too big or too small, making it easier to replace any that pop off later.
3. Apply the Nails:
Push back your cuticles with a cuticle pusher for a neat look.
Apply a generous amount of glue to both your natural nail and the press-on.
Press and hold for about 10 seconds to ensure it’s secure.
Work from pinkies to thumbs—leaving thumbs for last makes it easier to apply the others.
4. Finishing Touches
File the edges with a nail file to smooth out any roughness.
Wait 10-15 minutes to let the glue fully set, and you’re good to go!
How to Safely Remove Press-On Nails
When you're ready to switch things up, here’s how to take them off without damaging your natural nails:
Soak your nails in warm, soapy water for 10-15 minutes.
Use a cuticle pusher to gently lift the edges of the nails. If they resist, soak a bit longer.
For stubborn nails, I recommend using a glue remover for a gentle, damage-free removal process.
Avoid forcing them off to prevent nail damage.
Everything You Need for the Perfect Press On Nails
Having the right tools makes all the difference in how long your press-on nails last and how professional they look. Here’s what’s in my must-have kit:
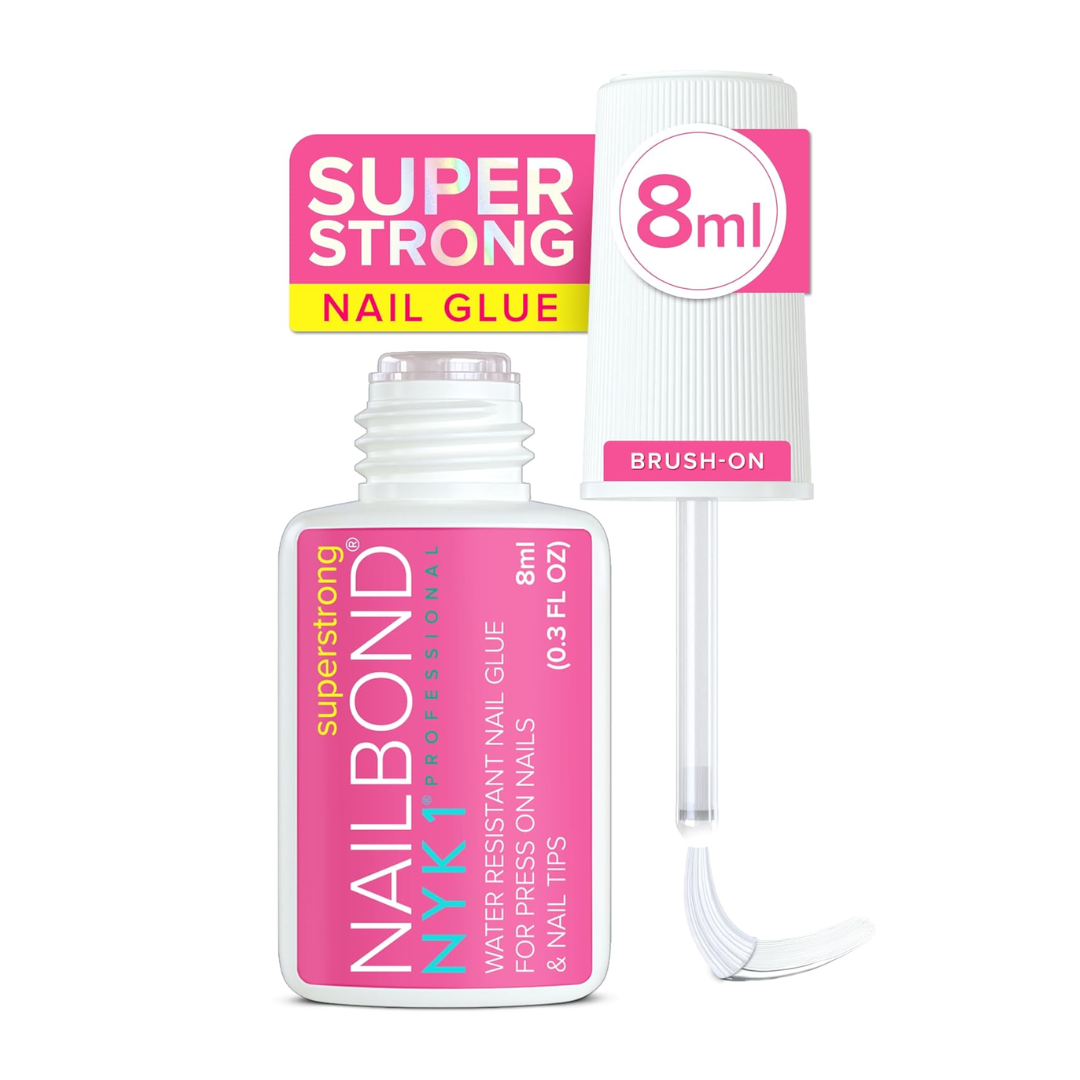
Nail Glue: Strong, long-lasting adhesive is key for durability, most sets of nails come with glue.
Cuticle Pushers: Prepping your nails properly helps with adhesion and a neat finish.
Nail File Set: Different grits for smoothing out edges and shaping your nails.
Glue Remover: For safe and easy removal without damaging your natural nails.
Tray to Organize Nails: Keep your sizes in order while applying for a quicker, mess-free process.


My Favorite Kiss Press On Nails
Let’s talk favorites: Kiss Press On Nails are hands down the best I’ve tried. The curve of the nails fits perfectly with my natural nail shape, and they stay on longer than any other brand I’ve used. They offer everything from classic to trendy styles. Check out some of my top picks:


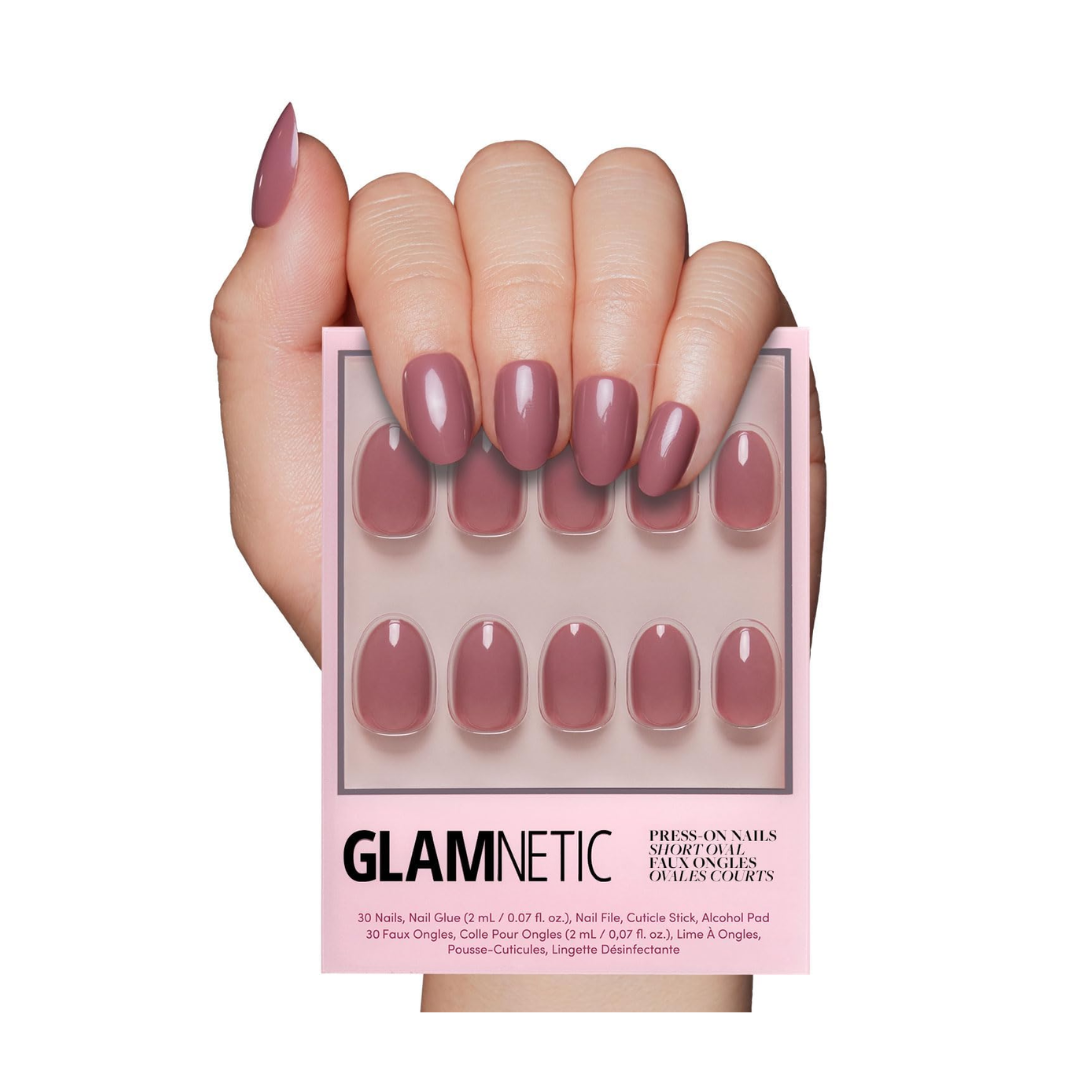
My Favorite Short Press On Nails
If you love a more natural look or need nails that won’t get in the way, short press-on nails are perfect. Here are some of my favorite sets:


My Favorite French Tip Press On Nails
You can’t go wrong with French tip press-on nails—they’re timeless! Whether you prefer short, medium, or long, here are some of my top picks:


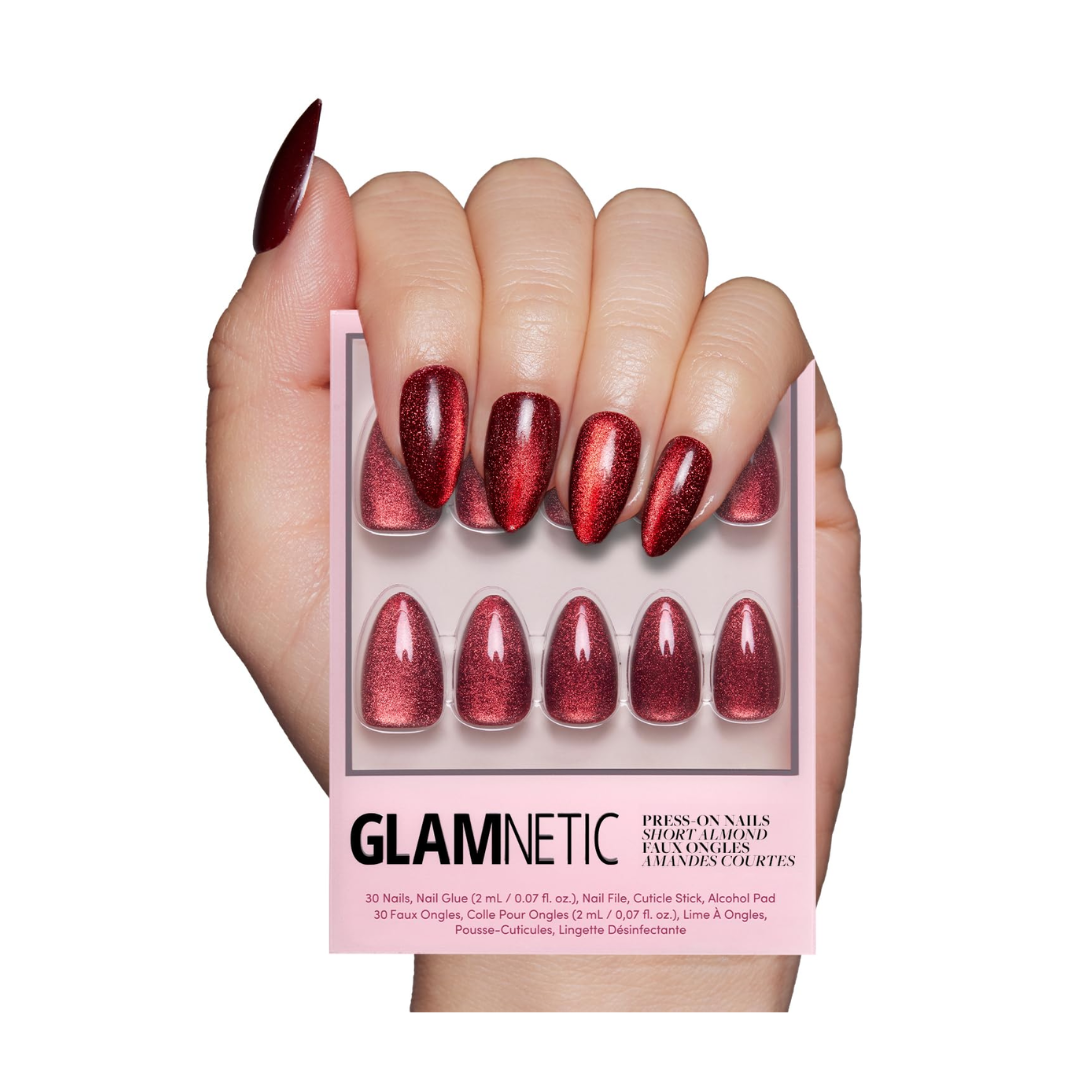
Cute Press On Nails for Every Occasion
I’m all about keeping my nail game fresh and fun. Here are some of the cute press-on nails I’m loving right now:


Press On Nails for Every Season
Switch up your nails for every season! I’ve rounded up some of my favorites for fall, Halloween, and more. You can also check out my Amazon Ideas List for even more seasonal styles.
Fall Press On Nails


Halloween Press On Nails


Valentine’s Day Press On Nails


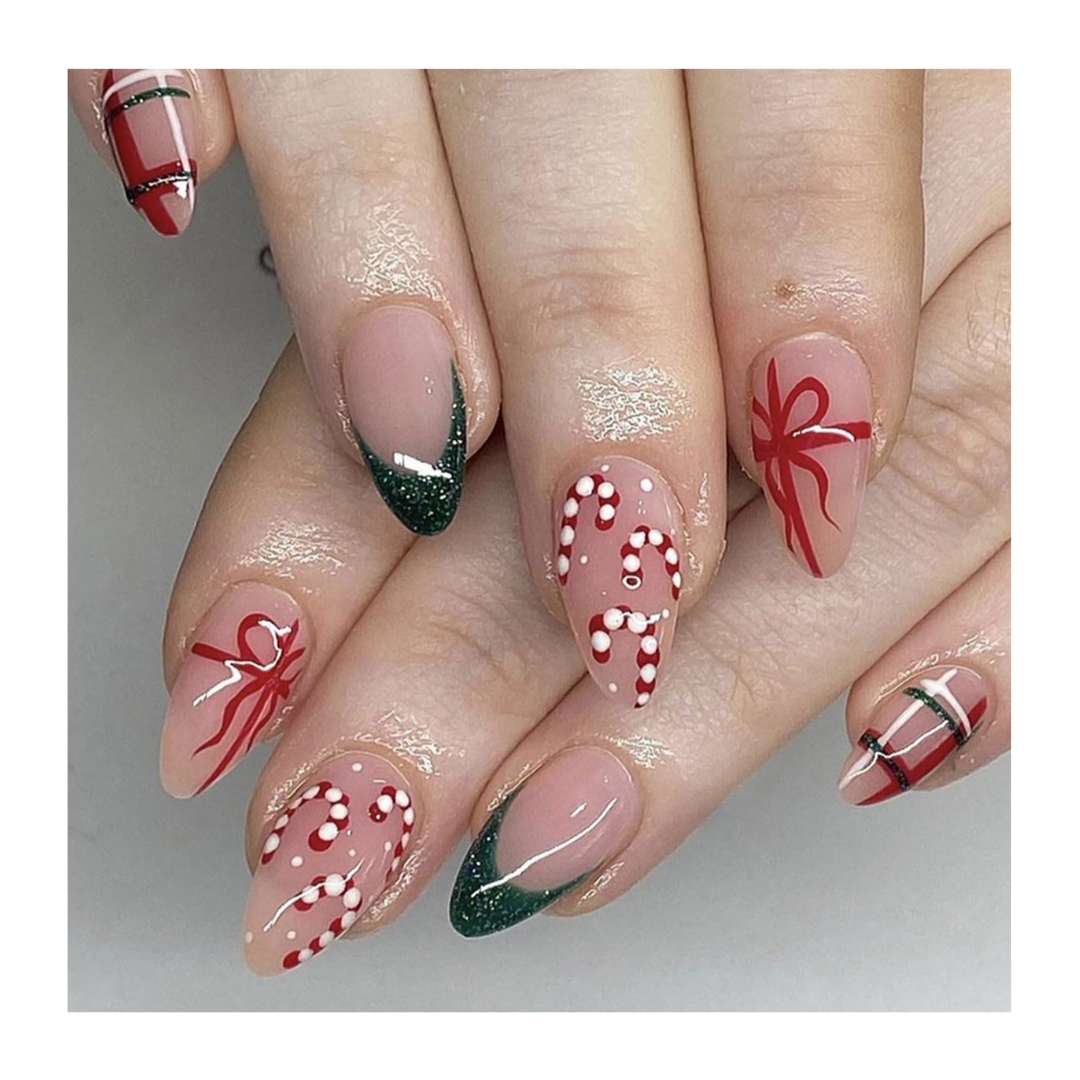
Christmas Press On Nails


Easter Press On Nails


Kids Press On Nails
Press-on nails aren’t just for adults—there are adorable and safe options for kids too! If your little one loves to have their nails done, press-on nails are a fun and mess-free way to let them express their creativity.
What to Know Before Applying Kids Press On Nails
Supervision is Key: Since nail glue is involved, always supervise kids while applying their nails.
Great for Bonding: Doing press on nails together can be a fun self-care activity for parents and kids.
Gentle Removal: Kids' nails are softer, so it’s best to remove them using warm, soapy water instead of harsh glue removers.
The Best Press On Nails for Kids
Here are some of my favorite kid-friendly press on nails:


Want your press-on nails to last the full 14 days? Here are my go-to tips for long-lasting nails:
Always carry backup nails and glue in your purse—you never know when you’ll need a quick fix!
Avoid soaking your nails in hot water for long periods (hot tubs, steamy baths, etc.).
Make sure your natural nails are clean, dry, and free from oils before applying.
Choose nails that are slightly smaller than your natural nail width for better adhesion.
My Favorite Press On Toe Nails
Yep, press-on-toe nails exist, and they’re amazing for quick pedis. Here are some great options to get your toes looking fabulous:


Shop My Amazon Press On Nail Edit
Ready to dive into the world of press on nails? Check out my Amazon Press On Nail Edit for all my favorite products, from nail kits to seasonal styles. Whether you're new to press-ons or a seasoned pro, you'll find everything you need to keep your nails looking fabulous without breaking the bank.